Changing Your Oven Door Seal in 8 Quick and Easy Steps
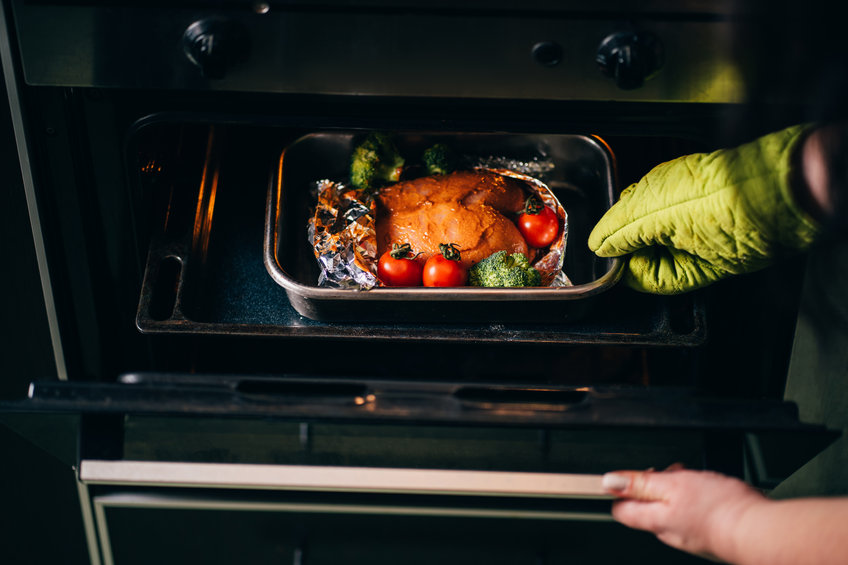
For most of us, the oven is the most essential and well used appliance in the kitchen. Like any high-use household item, your oven needs some maintenance and care every now and then to keep it working reliably every time. If you notice that your food isn’t cooking evenly, or that your oven is taking a lot longer to heat up than it used to, there’s a good chance you may need an over door seal replacement.
How do I replace my oven door seals?
Oven door seal replacement is actually a pretty easy task that most people can do themselves with the right seal to fit your oven model, and a few simple tools. Before starting to investigate or replace the seal, make sure your oven is cold; don’t attempt this while the oven is still warm from use.
- Step 1: Open your oven door and inspect the oven door seal to see if it’s hanging down loosely or is worn out or broken. If so, it’s replacement time.
- Step 2: Check the model number of your oven. The model number should be located either on the door or on the door frame. Write it down so you make sure you purchase the correct seal to fit your oven.
- Step 3: Purchase the correct oven door seal. In the event you can’t find your model number, a universal oven seal will do the job, but because there are two types of seals you need to check which kind you have first. A 3-sided seal goes up one side of your oven then across the top and down the other side. If you have a 3-sided seal, then our universal part number 3140832. A 4-sided seal also goes across the bottom; the universal part number for our 4-sided seal is 3140833.
- Step 4: Once you have purchased and received the right replacement oven door seal, disconnect your oven from power or turn off the gas valve if you have a gas oven.
- Step 5: Determine how the old oven door seal is connected to the channel its sits within. It may be connected with pins, clips or screws, or it may be friction fitted (push-in). Use either pliers or a screwdriver to unfasten it and remove it from the oven.
- Step 6: Clean the oven door channel with warm soapy water, removing any grease, old food scraps, dirt, dust or general debris, to ensure the new seal will fit snuggly in.
- Step 7: Fit your new oven door seal, using the required pins, clips or screws to fit it into place, or push it into place if friction fitted. Your oven door may seem a little more snug or stiff to start with; this is completely normal and over time the new oven door seal will settle into place.
- Step 8: Reconnect the oven power, or turn the gas valve back on.
That’s it! You’re all set to get cooking again.
When do I need to replace my oven door seals?
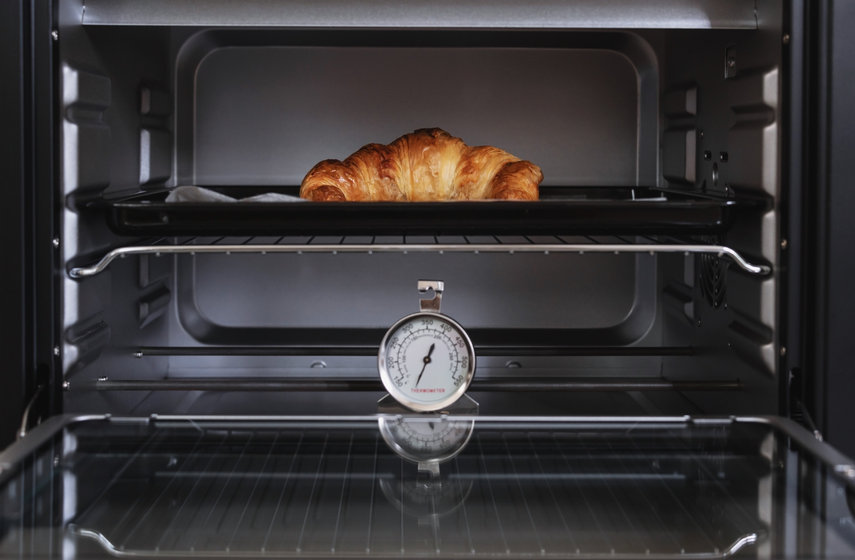
Oven door seals (also called oven door gaskets) keep your oven door sealed. The oven rubber seal helps your food to cook evenly and your oven to maintain the right temperature. If the oven rubber seal is old, worn or broken then your oven will need to work harder to heat, which not only means dinner will take longer to cook, but you’ll be using a lot more power because your oven isn’t working efficiently.
Like to use a safe oven cleaner?
If your oven is due for a clean, we can recommend the non-caustic K2R Oven Cleaner. You can purchase it here - K2R Oven Cleaner.
WWSpares is your online one-stop shop for quality appliance spare parts. Whether you need to replace a belt on your clothes dryer or your fridge or oven needs new door seals, we’ve got you covered. If you’re not sure what the problem is, give us a call and we’ll see if we can help you diagnose it. If we can’t, or we suspect it needs professional help, we can put you in touch with a local repairer near you.
Otherwise, if you know what the issue is, and you need the right spare part at the right price, look for it here on our website and place your order or contact us today for help.
Get advice from the professionals
Oven door seal replacement may seem like a daunting task if you aren’t a home handy man (or woman!) or mechanically minded. If you aren’t confident replacing your oven door seal, then get in touch with our professional staff for friendly advice and service. We’re always here to help.