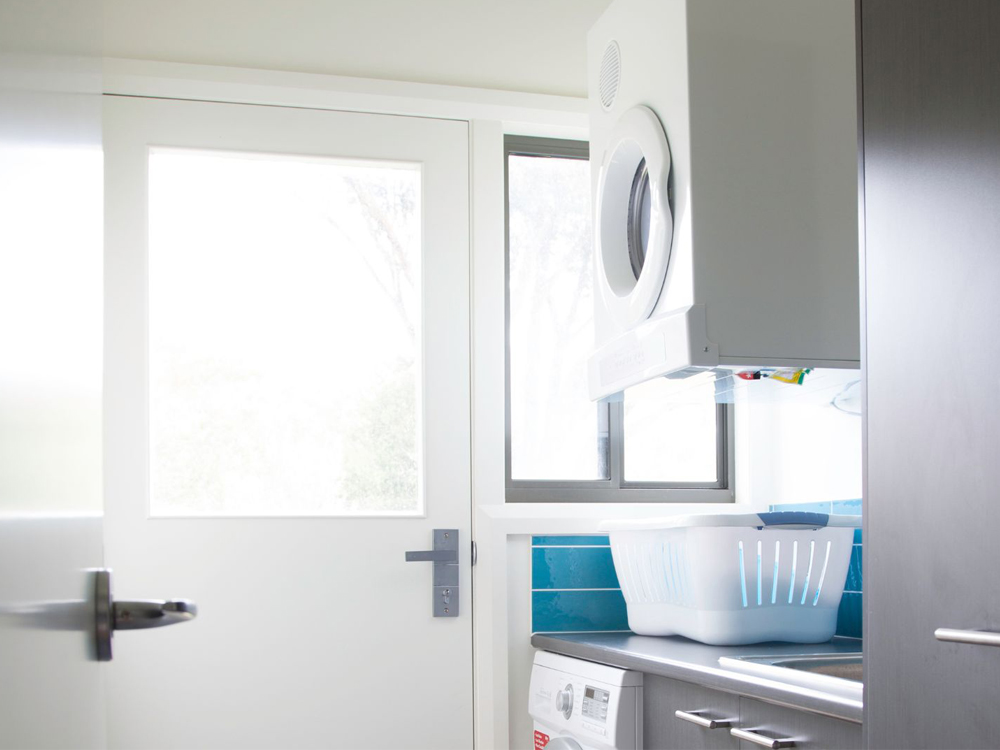
How to Wall Mount a Dryer? Here’s How From Wayne’s Wholesale Spares

In today's busy world, maximising space in our homes is important to ensure we are organised.
The laundry area often goes unnoticed, but it's a spot that can truly benefit from some smart solutions. Wall mounting your dryer is an excellent solution to save valuable floor space and create a more organised and streamlined laundry zone.
In this article, we’ll walk you through the process of how to wall mount a dryer, ensuring a successful and safe installation.
Safety first
Safety should always be your top priority during the installation process. Make sure to disconnect the dryer from the power supply and gear up with essential safety gear, like gloves and safety goggles.
Take your time and avoid rushing – a well-executed installation is vital for the long-lasting and safe use of your wall-mounted dryer.
1. Preparing for the installation
Before you start the wall mounting process, make sure you have all the necessary tools and materials. Here's a list of what you'll need:
- Dryer wall-mounting kit
- Stud finder
- Level
- Drill and appropriate drill bits
- Screwdriver
- Measuring tape
- Pencil or marker
- Safety goggles and gloves
2. Choosing the right location
Finding the perfect spot to wall mount a dryer is essential. Look for a location close to both the power outlet and wall vent.
Make sure the wall you choose can handle the weight of the dryer by considering the load capacity of the wall-mounting kit. Also check that the mounting bracket can support the weight of your specific dryer model.
Keep an eye out for any obstacles that could potentially get in the way of a successful installation.
3. Locating wall studs
Wall studs provide the necessary support for the weight of the dryer, ensuring a sturdy installation.
Using a stud finder, locate the wall studs where you plan to mount the dryer. Mark the stud locations with a pencil or marker for reference during the installation.
4. Installing the wall mounting bracket
Carefully follow the manufacturer's instructions to attach the wall mounting bracket securely to the wall studs. Use a level to make sure the bracket is perfectly horizontal when it's in position.
Once in position, mark the locations for the mounting holes, then drill pilot holes for the screws. Secure the bracket firmly in place using the provided screws.
5. Preparing the dryer
Before you mount the dryer, remove any accessories or attachments that might get in the way of the installation process. Take a look at the back of the dryer for a removable knockout panel designed for wall mounting. If you see it, gently punch it out.
6. Mounting the dryer
Now, that the wall bracket is in position and your dryer is ready, it's time to mount it on the wall. It's always easier with some extra hands, so ask a friend or family member to help. Carefully lift the dryer and align the keyhole slots on the back with the wall mounting bracket. Once everything is lined up, gently slide the dryer downward, locking it securely into place.
7. Securing the dryer
Follow the manufacturer's instructions closely to secure the dryer to the wall mounting bracket. Usually, this involves using screws or locking mechanisms to prevent any accidental dislodging. By doing this, you can have peace of mind knowing your dryer will stay put and give reliable performance.
8. Connecting utilities
Carefully attach the vent hose to the back of the dryer and the wall vent. Ensure to get a tight and secure fit to avoid leaks or airflow problems. Then, plug your dryer into the power outlet and run a quick check to confirm that everything is working smoothly.
Troubleshooting tips
1. Dealing with uneven walls
You might want to think about using shims or spacers behind the bracket to even out the surface. These small adjustments can make a big difference in getting a secure and level mount for your dryer. Use a spirit level to check the alignment as you go.
2. Adapting to different dryer models
Every dryer model has unique features or dimensions that might need some adjustments during wall mounting. So, before you proceed, carefully review the manufacturer's instructions that are specific to your dryer model. Be ready to adapt the installation process as needed. You might find that some dryers have slightly different mounting hole positions or venting configurations.
3. Securing the dryer for vibration and movement
During the drying process, some dryers can produce vibrations or movement, which might lead to a loose mount over time. Consider adding rubber washers between the dryer and the wall mounting bracket. These will absorb vibrations and help keep the dryer securely in place.
At WWSpares, we stock a range of dryer parts, including wall mount brackets. With our expertise, we can ensure you have the correct part to make fitting easy. Contact us today.
